
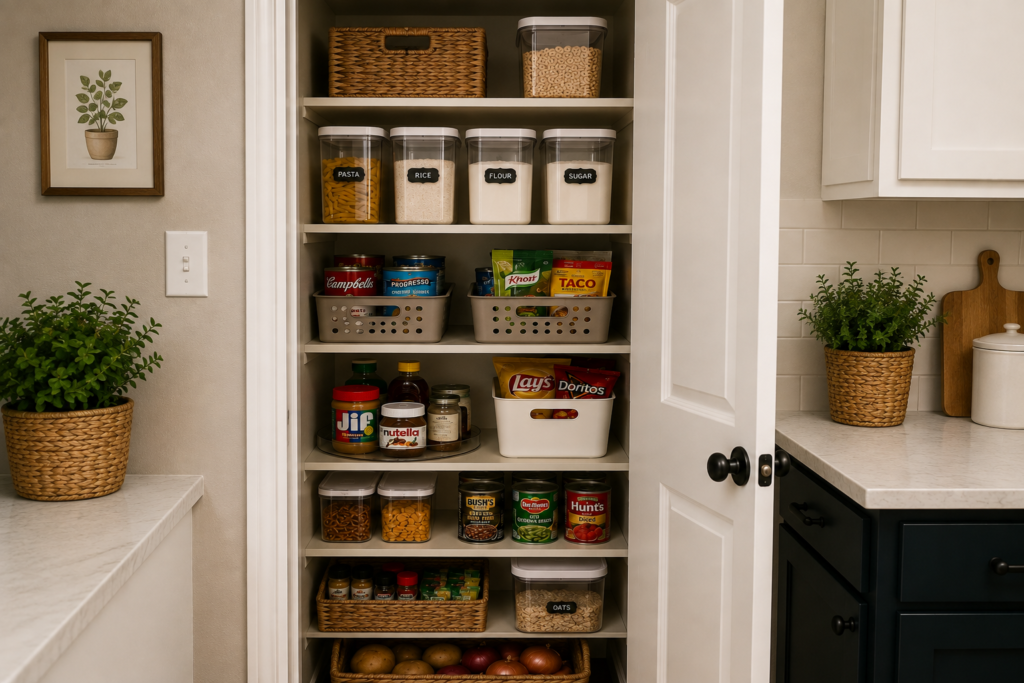
When you have only one closet for pantry storage, every shelf has to work a little harder. The goal isn’t to create a picture-perfect row of matching jars; it’s to make everyday food easy to find, easy to put away, and far less likely to disappear behind a half-used bag of rice.
This small pantry organization approach works for renters, apartment dwellers, dorm kitchens, and compact homes. Containers and bins can help if they solve a specific problem, but a more functional closet often starts with sorting what you already have.
Affiliate disclosure: Some links in this article are affiliate links. If you make a purchase through an affiliate link, I may earn a commission at no additional cost to you. As an Amazon Associate I earn from qualifying purchases.
Quick Overview
A small pantry closet needs a simple system based on how often you use items, what fits safely, and what your household can realistically maintain. You’ll learn how to empty and sort the closet, create practical food categories, use vertical space wisely, and set up a layout that makes restocking easier.
This guide is best for a small single-door pantry closet that stores dry goods, canned foods, snacks, baking ingredients, or meal staples. If your closet is especially narrow, deep, or difficult to reach, the same basic method still applies; you may simply need fewer categories and more attention to accessibility. The pantry doesn’t need to hold every food item you own. It needs to hold the foods that make daily meals easier.
What You’ll Need
- A clear nearby surface, such as a table, counter, or clean towel on the floor
- A damp cloth or all-purpose cleaner suitable for your pantry interior
- A small bag or box for expired, unwanted, or damaged food
- Optional baskets, bins, shelf risers, turntables, or clear containers
- Optional labels and a marker
- A rough idea of the foods your household uses most often
Before You Begin
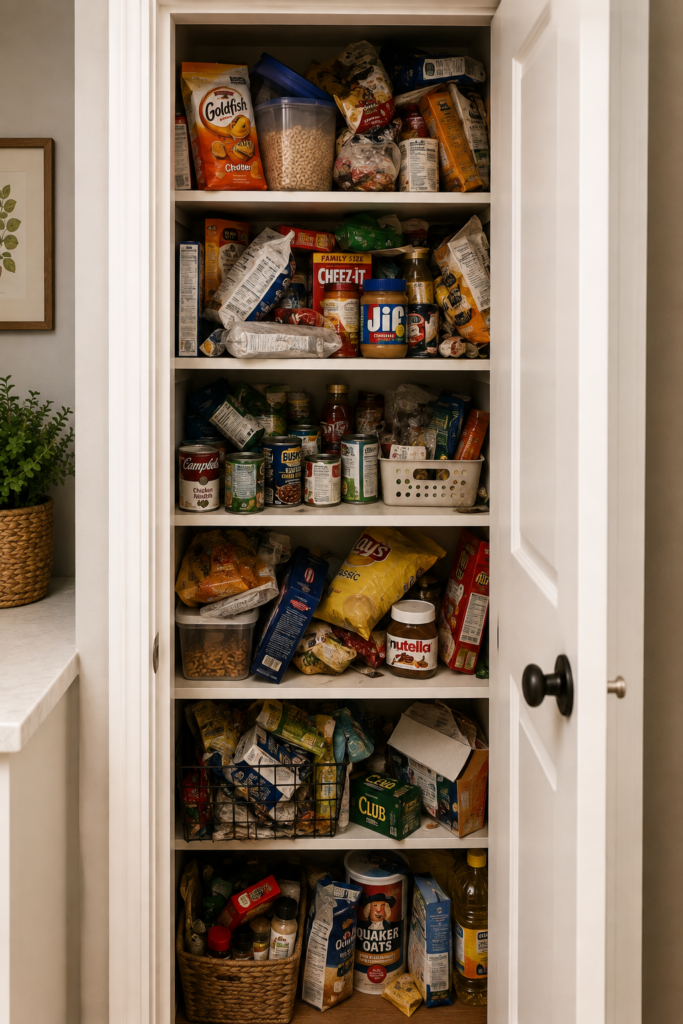
Choose a time when you can leave the closet empty for a little while. This is not a major renovation, but trying to organize around stacks of groceries while someone needs cereal immediately can make the process more annoying than necessary.
Check the shelves for loose hardware, peeling liner, moisture, crumbs, or signs of pests before putting food back. Remove damaged packages, clean up sticky spills, and discard anything that no longer appears safe to eat. Food should be stored in sealed containers or intact packages, especially in a closet exposed to heat, moisture, or curious pets.
It also helps to set realistic expectations before you start. A single small closet has limits. If it currently holds pantry staples, oversized serving platters, water bottles, backup cleaning products, and three years of mystery spice blends, it may need fewer items—not simply more organizers.
Step-by-Step Instructions
Step 1: Empty the Closet Completely
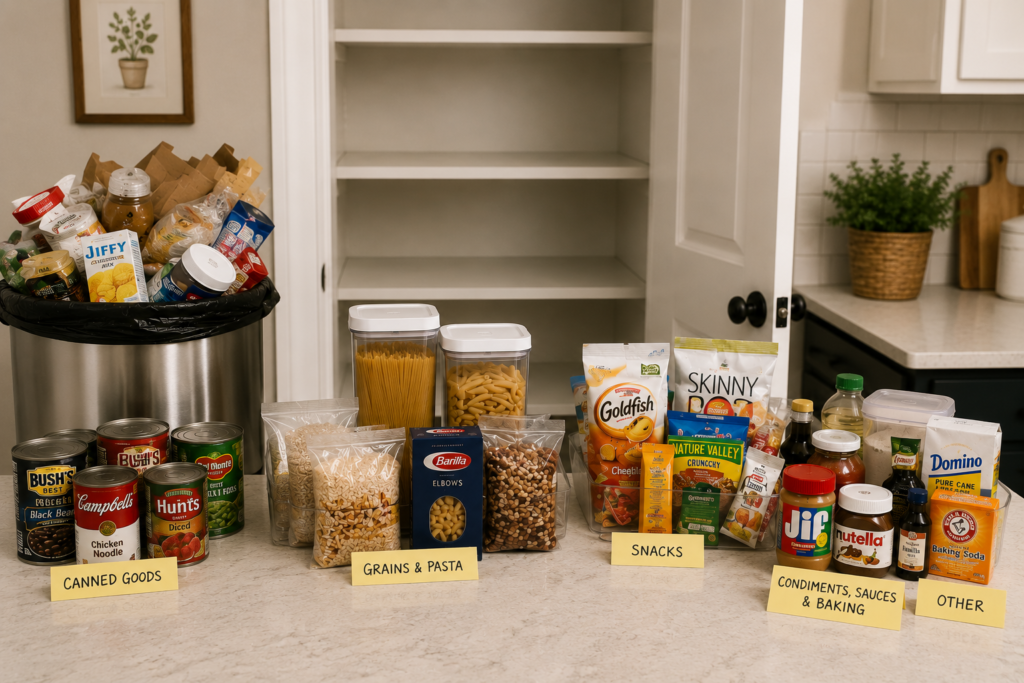
Take everything out of the closet, including items tucked into the back corners and anything balanced on top of other food. Place similar items near one another as you remove them: canned goods in one area, snacks in another, baking supplies together, and so on.
Seeing everything at once reveals what the closet is actually holding. You may discover five open pasta boxes, duplicate spices, or ingredients purchased with excellent intentions and then forgotten. That happens in even the nicest kitchens.
Keep food off wet or dirty surfaces, and return any perishable items to proper storage if they ended up in the closet by mistake. The focus here is pantry-safe food such as shelf-stable cans, grains, snacks, and baking ingredients.
Step 2: Check Dates, Packaging, and What You Actually Use
Go through each item before deciding where it belongs. Set aside food that is past its safe-use date, packages with tears or signs of pests, and items you know your household will not use. If unopened food is still suitable to eat and accepted by a local food donation program, place it in a separate donation box rather than returning it to the closet out of guilt.
For the remaining food, group duplicates together. This makes it easier to spot multiple open packages and decide whether they can be safely consolidated. If you transfer or combine food, avoid mixing products with different ingredients or cooking instructions, and keep any useful date and preparation information.
There is no need to throw away perfectly good food simply because it looks untidy. The point is to reduce the closet to useful, safe items that earn their space.
Step 3: Clean and Assess the Closet Space
Wipe crumbs, dust, and sticky spots from the shelves. Let the closet dry fully before restocking it, particularly if you plan to use bins or shelf liners that could trap moisture underneath.
Next, look at the closet itself. Notice how many shelves it has, how much vertical height each shelf offers, and whether the door opens wide enough for pull-out bins. A deep closet has different challenges than a narrow one. Deep shelves tend to hide food in the back, while tall shelves often waste usable space above short cans and boxes.
Think about access, too. Items used every day should not require reaching above shoulder level, moving a heavy stack, or kneeling on the floor. If someone in your household has limited reach, grip strength, or mobility, keep their most-used foods on the easiest shelf to access.
Step 4: Create a Few Useful Food Categories
A small pantry closet works best with broad categories rather than lots of tiny, complicated zones. Choose categories based on how your household cooks and eats. For example, your closet might include:
- Breakfast foods
- Snacks
- Pasta, rice, and grains
- Canned and jarred meal ingredients
- Baking supplies
- Tea, coffee, or drink mixes
- Quick lunch or dinner staples
Not every pantry needs every category. Someone who rarely bakes may need only one small baking section, while a household that packs lunches may need a larger snack area. Give space to the foods that support your actual routines, not the version of you who makes homemade bread every weekend in a sunlit kitchen.
Try to keep each category within one shelf zone, bin, or section. These visual boundaries make putting groceries away much simpler later.
Simple Houseware 3-Tier Stackable Can Organizer Rack Hold 36 Cans
Step 5: Assign Shelf Space by Frequency and Weight
Place your most-used items on the shelf that is easiest to reach. For many people, that is around eye or waist level. Daily breakfast foods, coffee supplies, snacks, or cooking staples usually belong here.
Put heavier items, such as canned goods, large jars, and bags of flour, on a lower shelf. This keeps the pantry safer and prevents an upper shelf from becoming a precarious canned-food avalanche. Lighter, less frequently used items can go on higher shelves, provided you can still remove them safely.
Keep backstock modest in a small pantry closet. One spare box of a staple may be practical; six backups can quickly crowd out foods you need this week. If you have additional storage elsewhere, reserve this pantry for open packages and items currently in use.
Step 6: Use Simple Organizers Only Where They Help
Organizers can make a small pantry closet more functional, but they are not mandatory. Start by noticing what is difficult to see, reach, or keep together.
A shallow basket or bin can hold snack packets, seasoning envelopes, or baking decorations so they do not drift across the shelf. If you have a deep pantry, a turntable may help with small jars, condiments, or oils, allowing you to reach items in the back without unloading the front. Shelf risers can create a second level for cans or short jars when there is unused vertical space.
Clear containers are helpful for loose dry goods such as flour, rice, oats, or cereal if the original packaging is bulky or hard to reseal. Make sure each container is food-safe, closes properly, and is labeled with the item name. If you transfer food, keep any necessary cooking instructions and date information from the original package.
Avoid buying organizers before you know the pantry’s trouble spots. A collection of beautiful bins that do not fit your shelves is just clutter with better posture.
Airtight Food Storage Containers with Lids
Step 7: Put Food Back With Labels Facing Forward
Return food category by category. Place frequently used items toward the front and less-used items behind them. Keep like items together, but do not force everything into rigid lines. A little flexibility helps when package sizes change.
Turn labels toward the front whenever possible. It takes only a few extra seconds and prevents the familiar experience of picking up four identical-looking cans before finding the tomatoes. For items in bins or opaque containers, add a simple label such as “Snacks,” “Baking,” or “Pasta.”
If multiple people use the kitchen, make the labels obvious rather than overly clever. “Breakfast” will remain helpful long after “Morning Magic” loses its charm.
Step 8: Create a Simple Restocking Routine
Once the pantry is organized, make it easy to keep that way. When you unpack groceries, place new items behind older ones whenever practical. This helps you use older food first without turning pantry management into a part-time job.
After cooking or grabbing a snack, return items to their category instead of setting them on the nearest open shelf. If a category starts overflowing, treat it as useful information: that food may need more space, another category may need less, or you may be buying more than the pantry can comfortably hold.
A quick check every few weeks is usually enough. Look for nearly empty staples, open packages that need sealing, and foods that have migrated away from their designated area.
Helpful Tips
- Keep a small “use first” area for open packages and foods nearing their best-by or use-by dates.
- Store packets and small pouches upright in a bin or small box so they remain visible instead of getting buried.
- Use the closet door only if it can safely support an appropriate organizer and still close fully. Avoid overloading it with heavy jars or cans.
Over The Door Pantry Organizer - Decant only the foods that regularly create mess or take up awkward space. Original packaging is often perfectly fine.
- If your shelves are deep, keep backup items toward the back and everyday items toward the front.
- Consider storing rarely used appliances, party supplies, or serving dishes somewhere else if they are taking over the area designated for food.
- Leave a little open space. An overfilled pantry is hard to maintain because every new grocery item becomes a tiny game of shelf Tetris.
Common Mistakes to Avoid
- Buying containers before measuring the pantry. Check shelf height, width, and depth first so organizers fit without wasting space.
- Organizing food without sorting it. Bins cannot solve expired items, duplicates, or foods nobody plans to eat.
- Putting heavy cans on high shelves. Store heavier items low where they are safer and easier to lift.
- Creating too many categories. A small pantry closet needs simple zones that are easy to remember.
- Hiding everyday staples behind backstock. Keep active-use foods within easy reach and reserve the back for extras.
- Ignoring open packages. Use clips, containers, or resealable bags to keep dry goods fresh and prevent spills.
- Treating the system as permanent. Grocery habits change, so adjust your categories when the pantry stops working well.
Final Thoughts
The best way to organize a small pantry closet is to make the space support your real meals and routines. A clear system matters more than matching containers, perfect labels, or shelves that look untouched by human life.
Once each category has a home and the most-used items are easy to reach, the pantry will feel larger simply because you can finally see what you have. That is the kind of pantry organization that earns its keep.
Frequently Asked Questions
Can I organize a small pantry closet without buying anything?
Yes. Start by removing food you cannot use, grouping similar items, placing heavy foods low, and keeping everyday staples at the front. Containers and bins can help with specific problems, but they are not required for a functional system.
What should go on the top shelf of a small pantry closet?
Use the top shelf for lightweight items you do not need every day, such as backup snacks, specialty baking ingredients, or seasonal foods. Avoid storing heavy cans, large glass jars, or anything difficult to remove safely.
Are clear containers necessary for a small pantry?
No. Clear containers are most useful for loose dry goods or packages that do not reseal well. If packaged food is easy to identify, stays fresh, and fits neatly, leaving it in its original packaging is often the simplest option.
How often should I reorganize the pantry?
A full reorganization is usually needed only when your household routines change or the current setup no longer works well. A brief check every few weeks for expired food, nearly empty staples, open packages, and misplaced items can keep the system manageable.