
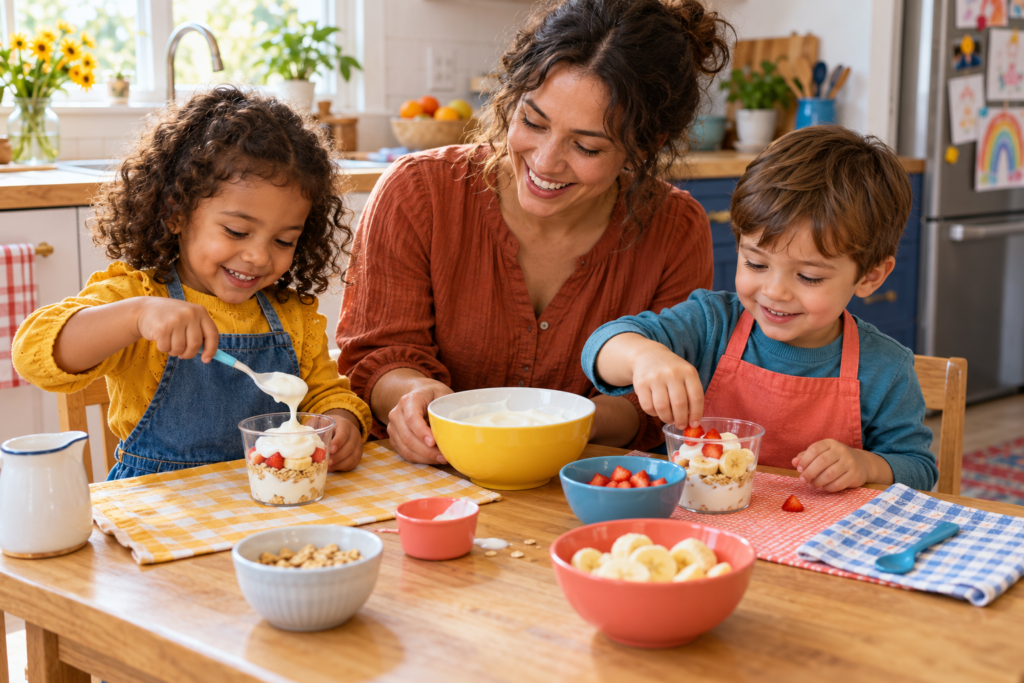
A preschool snack-making activity gives young children a real role in the kitchen without turning your counter into a tiny cooking competition. With a few simple tools and no-cook ingredients, you can create a hands-on routine where children scoop, pour, stir, count, and assemble a snack they’re excited to eat.
The key is keeping the setup small, safe, and manageable. This guide is for parents, caregivers, and early-childhood educators planning an adult-supervised activity with ready-to-eat foods. It is not the time to introduce heat, raw animal foods, or complicated recipes. Think simple bowls, small portions, and plenty of nearby grown-up help.
Quick Overview
A preschool snack-making activity is a simple way to involve children in food preparation while practicing everyday skills. They can help measure yogurt, add soft fruit, stir ingredients, choose toppings, and carry their finished snack to the table.
The best activities use three or four familiar components rather than a sprawling ingredient bar that looks charming for five minutes and then becomes a cereal-and-berry crime scene. Choose foods that are ready to eat, easy to portion, and appropriate for the children participating. A yogurt-and-fruit cup, soft fruit mix, or cracker-and-spread plate can work well when prepared with food safety and choking prevention in mind.
What You’ll Need
Keep the tool list basic. Most kitchens already have what you need.
- Clean bowls, one per child or small group
- Child-size spoons for scooping and stirring
- Small cups or a small pitcher for pouring
- Measuring cups or measuring spoons
- A clean cutting board for adult prep
- Napkins or washable placemats
- Ready-to-eat snack ingredients
- A refrigerator for perishable ingredients
- Soap, warm water, and clean towels for handwashing and cleanup
- Ingredient labels or allergy information, especially for group settings
An optional plastic or nylon knife may be used to cut very soft foods, such as banana or ripe avocado, with direct adult supervision. These tools are not universally safe simply because they are marketed for children, so consider the child’s age, coordination, and the food being cut. An adult should handle firmer produce, round foods, package opening, and all sharp knife work.
Before You Begin
Start by choosing one snack with a short ingredient list. For example, you might set out plain or flavored yogurt, soft cut fruit, and a cereal topping. Another easy option is a fruit cup with banana slices, appropriately prepared berries, and a spoonful of yogurt. The goal is not to create a restaurant-style parfait. It is to give preschoolers clear, achievable jobs.
Check allergies and dietary needs before buying or setting out ingredients. If you are working with a group, confirm each child’s food plan in advance, read package labels every time you purchase an ingredient, and prevent food sharing. The CDC notes that hand sanitizer does not effectively remove food allergens, so wash hands and food-contact surfaces with soap and water. For a child with a known allergy, follow that child’s written care or emergency plan and the instructions provided by the family and program staff.
Wash hands with warm, soapy water for at least 20 seconds before preparing food and eating. Clean bowls, utensils, cups, and cutting boards before use. Fresh produce should be rinsed under cold running water, not washed with soap or detergent. The USDA also recommends washing cutting boards with hot, soapy water after use.
Plan the snack around choking prevention, too. Children should sit while they eat and remain supervised. Modify foods that can be difficult for young children to chew safely. Cut grapes and cherry tomatoes lengthwise into quarters, then cut them into smaller pieces as needed for the child’s age and chewing ability. Leave nuts, popcorn, hard or sticky candy, raw carrot sticks, apple chunks, chunks of cheese or meat, and spoonfuls of nut butter out of this activity. The American Academy of Pediatrics advises preparing food for young children in pieces no larger than one-half inch.
How to Set Up a Preschool Snack-Making Activity
Step 1: Choose one simple, no-cook snack
Pick a snack with three or four components at most. A good beginner format is a base, a fruit or vegetable, and one optional topping.
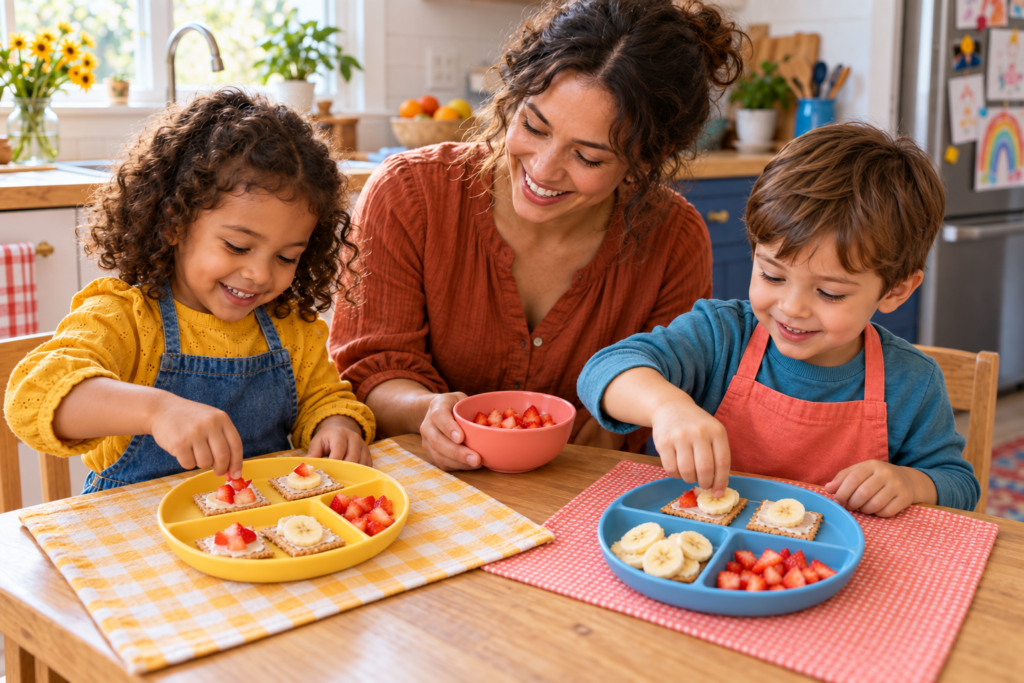
For instance, a yogurt snack cup could include yogurt, soft fruit, and a small amount of cereal. A fruit-and-cracker plate could include soft fruit pieces, crackers, and a thin layer of an allergy-appropriate spread applied by an adult..
Avoid recipes that require cooking, blending, baking, raw eggs, raw meat, or complicated assembly. Preschoolers get more from a short activity they can understand than from a recipe with 12 steps and a waiting period longer than their attention span.
Step 2: Prepare ingredients before children arrive
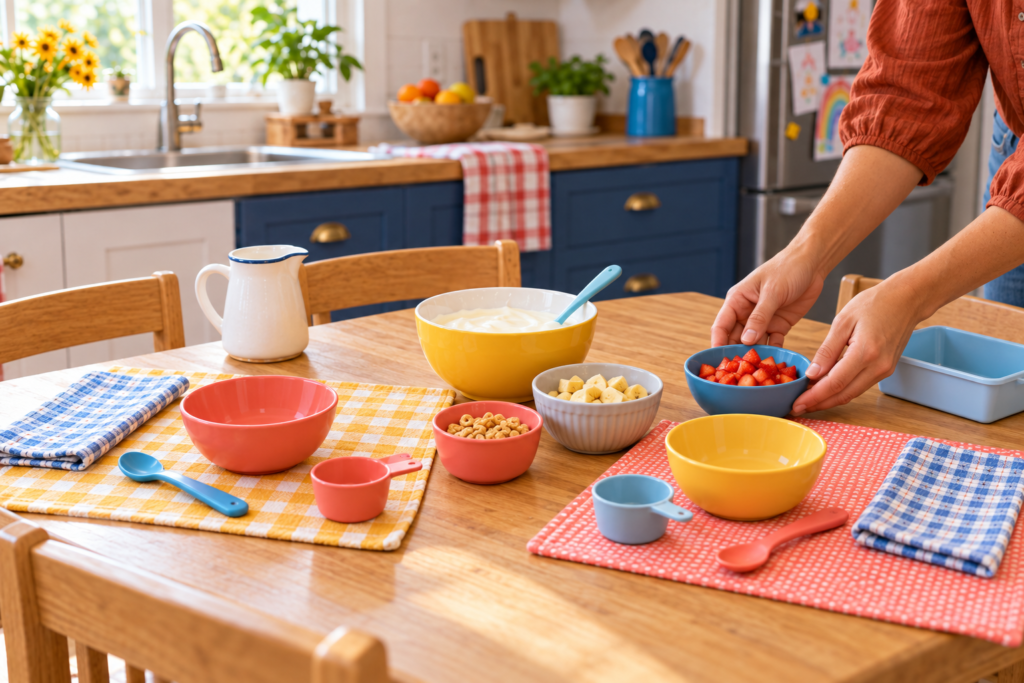
Do the higher-risk work first. Wash produce under cold running water, dry it if needed, and cut it into age-appropriate pieces. Open packages, portion ingredients into small containers, and return cold items to the refrigerator until you are ready to begin.
If grapes or cherry tomatoes are on the menu, cut them lengthwise into small pieces rather than serving them whole. Skip ingredients that are hard, round, sticky, or otherwise difficult for young children to manage safely. This is also the time to remove pits, peels, stems, tough skins, and packaging fragments.
Keeping prep separate from the child activity helps you stay focused once snack-making begins. No one needs to be hunting for a clean spoon while a preschooler enthusiastically attempts to pour an entire carton of yogurt into one bowl.
Step 3: Set up a small, clean workstation
Choose a table, island, or counter where children can stand or sit comfortably with close adult supervision. An unoccupied kitchen is not a safe place for young children, so stay present throughout the activity and keep sharp tools, hot appliances, and cleaning products out of reach.
Give each child or small group a bowl, spoon, napkin, and access to only the ingredients they need. A small pitcher or cup makes pouring more manageable than a full-size container. Measuring cups are useful not because the snack demands precision, but because they naturally encourage counting, comparing, and taking turns.
For groups, create separate workstations for a few children each rather than using one large shared table. Fewer hands reaching across the ingredients makes the activity calmer, cleaner, and easier to supervise.
Step 4: Wash hands and explain the snack jobs
Before touching food, guide children through handwashing with warm water and soap. Make it part of the routine rather than an interruption. Once their hands are clean, briefly explain what everyone will do: scoop, pour, stir, choose, and eat while seated.
Keep instructions concrete. Instead of saying, “Use a reasonable amount,” show children which spoon or cup to use and where the ingredient goes. You might say, “One scoop of yogurt goes in your bowl,” or, “Choose three pieces of banana.” Preschoolers respond well when a task has a clear beginning and end.
This is also a good time to explain that ingredients stay in their designated containers and that everyone eats their own snack. Those boundaries matter even more when allergies or dietary restrictions are involved.
Step 5: Let children complete age-appropriate tasks
Offer jobs that build independence without creating unnecessary risk. Preschoolers can often scoop soft ingredients, pour a small amount from a child-size cup, stir, count pieces, and choose between two safe toppings. With support, they may also serve themselves from a small pitcher or bowl.
Stay close enough to guide movement and prevent overpouring, but allow children to do as much as they reasonably can. A slightly uneven scoop is not a problem. Neither is a banana slice that lands beside the bowl. The point is participation, not snack perfection.
If you use an optional plastic or nylon knife, reserve it for soft food and supervise directly. A child might gently cut a banana segment or a piece of ripe avocado, but an adult should take over if the food slides, requires force, or causes frustration.
Step 6: Serve and eat the snack seated
Once the snack is assembled, move children to a table or eating area. They should sit while eating, with an adult present throughout the meal. Keep the pace relaxed; preschoolers may be proud of what they made and want to point out every single blueberry. Fair enough.
Encourage children to use a spoon or their fingers as appropriate for the food. Avoid rushing them or making tasting a requirement. The activity can still be successful if a child only handles, smells, or takes a tiny taste of a new ingredient.
Step 7: Clean up and store leftovers safely
Clear food from the workspace as soon as the activity is over. Wash bowls, utensils, cups, and cutting boards with hot, soapy water. Clean the table or counter, and help children wash their hands again if needed.
Refrigerate perishable leftovers promptly. FoodSafety.gov advises refrigerating perishable foods within two hours at room temperature, or within one hour when temperatures are above 90°F. Do not save food from individual bowls that children have already eaten from; saliva and warm room temperatures are not a great leftover strategy.
Helpful Tips
- Keep ingredient choices limited. Two or three options feel empowering without becoming overwhelming.
- Use clear bowls or small containers so children can see what they are choosing.
- Portion toppings in advance. A small cup of cereal or fruit is easier to manage than a family-size package.
- Put cold ingredients out last, especially yogurt, cheese, or cut fruit.
- Choose washable placemats or a tray if you want a defined work area and easier cleanup.
- Let children help clean up by carrying napkins to the trash, placing spoons in a dish bin, or wiping a small section of the table with guidance.
- Use the activity to practice simple words and concepts: full, empty, more, less, one, two, stir, and scoop.
- If you are in a child-care setting, check your facility’s food-service, licensing, and allergy procedures before planning the activity. Local requirements may add rules beyond general guidance.
Common Mistakes to Avoid
- Choosing too many ingredients: A large topping bar can lead to confusion, waste, and too much waiting. Stick with a simple snack formula.
- Using foods with choking risks without modifying them: Do not serve whole grapes, whole cherry tomatoes, nuts, popcorn, or hard chunks of raw produce to preschoolers.
- Setting out large containers: Full yogurt tubs, juice bottles, and cereal boxes are difficult for small hands to control. Transfer small amounts to child-manageable containers.
- Treating hand sanitizer as a substitute for handwashing: Soap and water are especially important when food allergens may be involved.
- Leaving children to work independently in the kitchen: Preschool snack preparation should always be directly supervised by an adult.
- Making cutting the main event: Most children can have a satisfying role through scooping, stirring, pouring, and assembling. Knife work is optional, not essential.
- Saving food that has already been served or eaten from: Keep untouched ingredients separate and refrigerate them promptly. Discard individual leftovers that children have eaten from.
Final Thoughts
The best preschool snack-making activity is usually the simplest one: a few safe ingredients, a clean workspace, and jobs children can genuinely do. When the setup matches their abilities, children get the satisfying experience of helping without introducing unnecessary kitchen hazards.
Keep supervision close, make safety decisions before the food comes out, and let a little mess be part of the learning. A crooked spoonful of yogurt still counts as snack-time magic when a preschooler made it themselves.
Frequently Asked Questions
Can preschoolers use real kitchen tools?
Preschoolers can use simple tools such as spoons, small cups, measuring cups, and bowls with direct adult supervision. Sharp knives, hot appliances, blenders, and other higher-risk equipment should remain adult-only.
What is an easy first snack-making activity for preschoolers?
A yogurt-and-soft-fruit cup is a practical first option. Children can scoop yogurt, add pre-cut soft fruit, stir, and choose a small topping while an adult handles washing, cutting, and refrigeration.
How do I make snack-making safer for a group of children?
Collect allergy information in advance, read ingredient labels, prevent food sharing, use clean equipment, and set up small, supervised workstations. Follow any child-care or school food-service rules that apply to your setting.
Can I prepare ingredients ahead of time?
Yes. Adults can wash and cut produce, portion ingredients, and set out tools before the activity begins. Keep perishable foods refrigerated until the activity starts, and return untouched leftovers to the refrigerator promptly.