
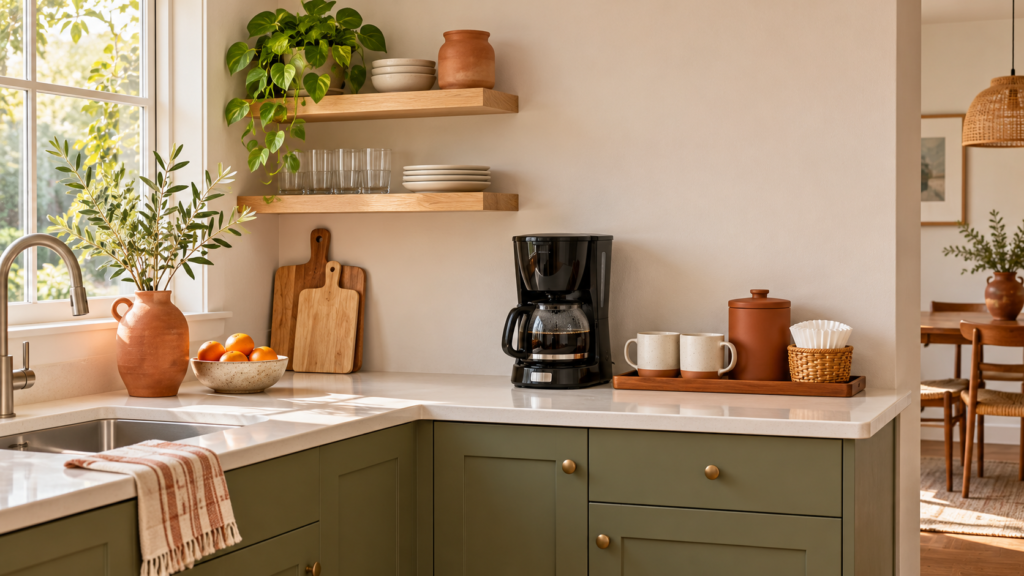
An unused kitchen corner can become one of the most useful spots in your home when you turn it into a coffee station. Instead of pulling mugs, beans, filters, and sweeteners from three different cabinets before you’ve fully woken up, you’ll have the essentials gathered in one practical place.
The best coffee station is not necessarily the one with the most accessories or the prettiest matching canisters. It’s the one that fits how you make coffee, works with the space you have, and is easy to clean when a sleepy scoop of grounds inevitably misses the mark.
What You’ll Need
Start with the equipment you already use regularly. A functional coffee corner does not require a countertop full of specialized gadgets.
- Your usual coffee maker, such as a drip machine, single-serve brewer, French press, pour-over setup, or espresso machine
- A stable counter, cart, shelf, or cabinet surface
- Access to a properly placed electrical outlet if your coffee maker requires power
- Coffee, tea, or other hot-drink supplies your household uses
- Mugs or cups
- A spoon or scoop
- Filters, pods, or other brewing supplies that fit your machine
- A container or drawer organizer for small items, such as filters, sugar packets, or stirrers
- A tray, mat, or shallow basket to define the station and catch small spills
- A small cloth or paper towels for routine cleanup
- Optional: an airtight coffee container, mug hooks, a compact waste bin, or a small shelf riser
Before You Begin
Take a realistic look at the corner before moving anything into it. Measure the usable width and depth, but also check the clearance above the surface. Some coffee makers need extra room to open a lid, remove a water tank, or lift out a pod holder. A corner that looks spacious until the machine’s lid hits the underside of a cabinet is not a great start.
Check the outlet situation, too. Avoid running a coffee maker’s cord across walkways, near the sink, or under rugs. If you need an extension cord to make the station work, reconsider the location rather than treating the cord as permanent kitchen decor. Keep electrical equipment away from standing water, and follow the manufacturer’s instructions for placement and use.
It also helps to decide what belongs there before you begin. Think through your normal routine: Do you brew a full pot each morning, make one cup at a time, use milk, keep decaf on hand, or switch between coffee and tea? Your answers should guide the setup. A household that uses a simple drip maker needs different storage than someone who uses a grinder, scale, kettle, and pour-over dripper every day.
Step-by-Step Instructions
Step 1: Choose the most workable corner
Pick a corner that supports your coffee routine, not just the one that happens to be empty. Ideally, the location should be near an outlet and within reasonable reach of a water source, refrigerator, mugs, and dishwashing area.
Avoid placing a coffee maker directly under low cabinets if steam will collect there. Heat and moisture can be hard on finishes over time, especially if the brewer vents straight upward. If cabinet clearance is limited, position the machine so you can slide it forward slightly while brewing, provided the cord remains safely positioned and the machine stays stable.
A coffee station can live on a counter, a sturdy utility cart, a section of open shelving, or the top of a sideboard near the kitchen. The key is choosing a surface that can handle the machine’s weight, occasional drips, and everyday use without wobbling.
Step 2: Clear and clean the area completely
Remove everything from the selected corner before arranging your coffee supplies. This gives you a chance to clean crumbs, grease, dust, and the odd rubber band that somehow lives behind every countertop appliance.
Wipe down the surface with a cleaner appropriate for its material, then dry it thoroughly. If you are using a cart or piece of furniture instead of a kitchen counter, make sure the top is easy to wipe and protected from water rings. A washable tray or heat-safe mat can define the station while making cleanup easier.
This is also the moment to reclaim the corner from items that do not belong there. A coffee station works best when it has a clear job. If it becomes a holding pen for school papers, keys, and unopened mail, making coffee will feel like clearing a tiny desk every morning.
Step 3: Place the coffee maker first
Set the coffee maker where it will be used. Leave enough room to access the water reservoir, open lids, remove carafes, and empty grounds or used pods. If the machine has a side-mounted water tank or removable drip tray, check that you can take it out without pulling the whole setup apart.
Keep the appliance a safe distance from the edge of the counter or cart. The cord should reach the outlet without stretching tightly, looping near water, or creating a snagging hazard. Follow the manufacturer’s instructions for electrical connections and safe placement.
Once the machine is in place, stand where you would normally make coffee. Can you fill it, start it, and pour a cup without reaching over a cluttered surface? If not, shift things now. Rearranging a mostly empty station is much easier than doing it after every mug and syrup bottle has moved in.
Step 4: Group supplies by how often you use them
Put the items you reach for every day closest to the coffee maker. That usually includes coffee grounds or beans, filters or pods, your preferred mug, and a scoop or spoon. Keeping these basics within easy reach reduces the morning cabinet shuffle, which is useful even when you are technically awake but not emotionally prepared to locate the filters.
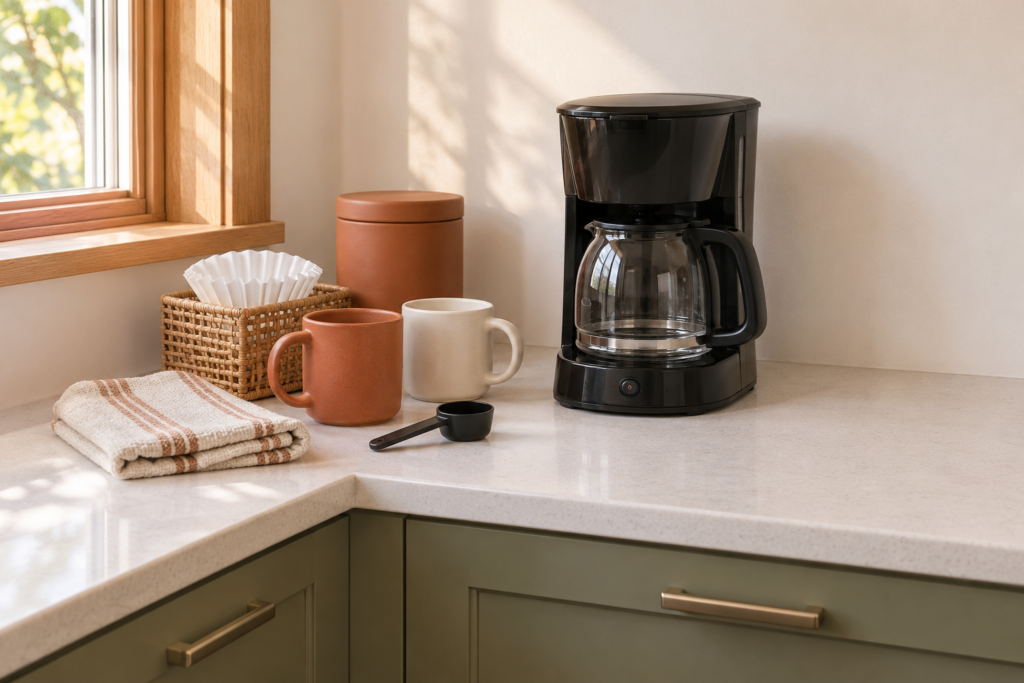
Store less frequently used items farther back, in a nearby drawer, or on a lower shelf. These might include decaf coffee, flavored syrups, extra pods, seasonal mugs, tea bags, or entertaining supplies. The goal is not to display everything you own. It’s to make your regular routine smooth.
If counter space is tight, use vertical storage carefully. A small riser can hold canisters, while a narrow basket can corral filters and packets. Choose organizers that do not block access to the coffee maker or make cleaning around them annoying.
Step 5: Create simple storage for coffee and small supplies
Coffee stays freshest when protected from air, moisture, heat, and light. Keep beans or grounds in their original resealable bag if it closes well, or transfer them to a clean, dry, airtight container. Store the coffee away from direct sunlight and the heat coming off the brewer rather than placing it on top of the machine.
Filters, pods, tea bags, and sweetener packets are easy to lose in a crowded cabinet. A drawer organizer, lidded container, or small basket keeps them together without taking over the counter. Before buying a storage piece, check that it fits the supplies you use. A pod holder is only helpful if you use that exact pod system; otherwise, it is just a very committed little sculpture.
If you keep sugar, cinnamon, or cocoa at the station, use containers with secure lids and clean, dry spoons. This helps prevent clumping and keeps loose ingredients from turning into a sticky counter situation.
Step 6: Add mugs and serving items without overcrowding
Keep a small number of everyday mugs at the station if space allows. How many you need depends on the number of people using the area and how often dishes get washed. The rest can stay in their usual cabinet.
Mug hooks can work well beneath a shelf or cabinet if they are securely installed and do not interfere with the coffee maker’s steam or lid. If installation is not an option, stackable cups, a nearby shelf, or a simple tray may be more practical. Avoid tall, unstable mug towers; no one needs a ceramic avalanche before breakfast.
Keep milk, cream, and plant-based alternatives in the refrigerator until you are ready to use them. Do not leave perishable additions at the coffee station for convenience. A small pitcher can be useful when serving guests, but wash it after use and promptly refrigerate any milk or cream.
Step 7: Make cleanup part of the layout
Build in a place for the small messes that come with coffee. Keep a washable cloth nearby for drips, and position the machine so you can easily remove and rinse its drip tray, if it has one. A tray beneath canisters and accessories can catch stray grounds and make weekly wiping much faster.
If you use loose grounds, place a small lidded bin nearby only if you will empty it regularly. Damp coffee grounds can develop odors and mold if left for too long. Empty grounds from the machine according to its instructions, and wash reusable filters, carafes, French press parts, or milk-frothing accessories after use.
A station that takes five minutes to clean every day will eventually become one you avoid. Keep the arrangement open enough that you can wipe the surface without moving twelve decorative objects.
Step 8: Test the station during a normal coffee routine
Use the station for a few mornings before deciding it is finished. Notice what feels awkward. Maybe the mugs are too high, the filters are hidden behind the machine, or the coffee container is on the wrong side for the hand you naturally use.
Make small adjustments based on those observations. The prettiest layout is not always the most useful one, and that is fine. Move daily items closer, remove accessories you never touch, or relocate the machine slightly if filling the reservoir is a hassle.
A good coffee station should make the routine feel calmer, not more precious. If guests can make themselves a cup without asking where everything is, you have probably arranged it well.
Helpful Tips
- Keep the station focused on drinks. A toaster, blender, and air fryer may all deserve counter space, but adding every appliance to one corner makes it harder to use and clean.
- Use a tray to visually contain supplies, especially on an open counter. It makes the area look intentional without requiring a full furniture makeover.
- Place frequently used items based on your dominant hand when possible. A right-handed person may prefer coffee and filters to the right of the brewer, while someone else may find the opposite arrangement more natural.
- Consider a small lamp or under-cabinet lighting if the corner is dim. Better visibility makes early-morning measuring and cleanup easier.
- Keep backup coffee and filters in a pantry or cabinet rather than cramming bulk packages into the station.
- If you use a grinder, leave room for it and plan for loose grounds. A tray or mat underneath makes daily cleanup much less fussy.
- Review your coffee maker’s cleaning instructions and descale it as recommended by the manufacturer. A tidy station cannot compensate for a neglected machine.
Common Mistakes to Avoid
- Choosing style over access: A machine tucked into a beautiful corner is not useful if you cannot open the lid or reach the water tank.
- Overloading the counter: Too many syrups, mugs, signs, jars, and accessories make a small station feel crowded and difficult to wipe down.
- Storing coffee near heat or sunlight: Beans and grounds are better kept in a cool, dry, dark spot away from the appliance’s warmth.
- Leaving milk or cream out: Keep perishable additions refrigerated until serving time.
- Ignoring steam clearance: Coffee makers release heat and steam, so make sure the space above and around the machine can handle normal use.
- Buying organizers before measuring: Check your available space and the size of your supplies first. An organizer that does not fit is just another thing to store.
- Forgetting the cleanup plan: If there is no easy place for used grounds, drips, and washable parts, clutter will build quickly.
Final Thoughts
A coffee station does not need to look like a café counter or require a shopping spree to earn its place in your kitchen. Start with the equipment and supplies you already use, then arrange them around the routine you want to make easier.
The most successful setup is one you can keep clean, restock easily, and use comfortably on an ordinary weekday morning. That is more than enough charm for one kitchen corner.
Frequently Asked Questions
Can I put a coffee station on a rolling cart?
Yes, as long as the cart is sturdy, stable, and positioned near a safe power source if you use an electric coffee maker. Lock the wheels during use if the cart has wheel locks, and make sure the top can support the appliance and supplies.
What should I keep on a small coffee station?
Keep only the daily essentials: your coffee maker, coffee, filters or pods, a scoop, and a few mugs. Store backups, specialty drinks, and rarely used accessories elsewhere to preserve limited counter space.
How do I keep a coffee station from looking cluttered?
Use a tray, basket, or drawer organizer to group small supplies, limit the number of mugs on display, and remove items that are not part of making or serving drinks. Open space is useful, not wasted.
Is it safe to keep a coffee maker under kitchen cabinets?
It depends on the machine’s instructions and the available clearance. Make sure you can operate the brewer safely and that steam is not repeatedly trapped against the cabinet above it. If appropriate for your setup, slide the machine forward while brewing, keeping it stable and the cord safely positioned.