
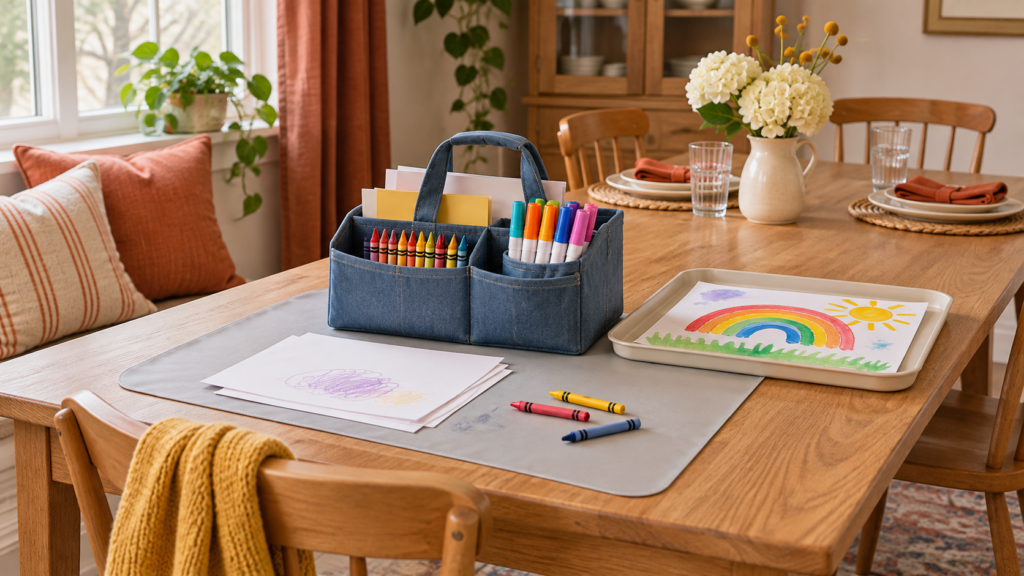
An easy-to-clean kids’ art station is less about finding the perfect cart or filling a wall with matching bins. It’s about creating a simple system: a comfortable place to make things, a limited set of supplies within reach, and an obvious way for everything to go back when the masterpiece is complete—or when someone has decided the table itself is the canvas.
The good news is that you can build this kind of setup in a kitchen corner, playroom, bedroom, or small apartment. Whether you use a dedicated table, part of the dining table, or a rolling caddy that disappears before lunch, the goal is the same: make creative time inviting without creating a cleanup situation that requires a recovery day.
What You’ll Need
- A work surface, such as a child-size table, desk, tray table, or protected section of a larger table
- Child-appropriate art supplies chosen for your child’s age
- A small caddy, tray, or container for the supplies currently in use
- A few bins, drawers, baskets, or containers for sorting supplies
- Simple labels using words, pictures, or both
- A washable table covering, placemat, tray, or paper to protect the surface
- A small container for scraps and used paper
- A nearby place for finished artwork to dry or wait for display
- Soap and water or a cleaner appropriate for the work surface
- A cloth, sponge, or paper towels for wiping up after art time
Before You Begin
Start by deciding how the art station needs to function in your home. Some families need a permanent spot where kids can create independently. Others need a portable station that can be tucked into a closet before dinner. Both can work well; the important part is that the supplies have a consistent home.
Take a quick inventory before buying organizers. Gather the markers, crayons, paper, glue sticks, scissors, stickers, and paint supplies you already own. Toss dried-out items, recycle unusable paper scraps, and set aside materials that require adult supervision. There is no need to organize 47 mystery objects just because they were once part of a craft kit.
Choose art materials labeled for children and look for the statement “Conforms to ASTM D-4236” when applicable. The U.S. Consumer Product Safety Commission explains that this statement relates to toxicological review for chronic hazards. Avoid relying on “water-based” as a blanket safety label, and keep old or unlabeled materials out of the children’s supply area.
If you’re using a freestanding bookcase, drawer unit, or shelving for storage, follow the manufacturer’s instructions and secure it to the wall. The CPSC recommends anchoring furniture and keeping heavier items on lower shelves to reduce tip-over risks. Keep tempting items off the top, too; children are remarkably resourceful when a glitter jar is involved.
Step-by-Step Instructions
Step 1: Choose a spot that supports everyday use
Pick a location based on how your household actually moves through the day. A kitchen or dining area may make supervision easier, while a playroom or bedroom may offer more room for supplies. Natural light is nice, but the station does not need to look like a sunlit craft studio from a catalog to be useful.
Look for a surface that can handle routine wiping and is close enough to a sink or cleanup supplies that resetting the space feels manageable. If you use the family dining table, create a temporary station with a tray or caddy that you can bring out and put away. Renters and small-space households may find this option especially helpful because it avoids adding furniture that has nowhere to live.
Before moving on, make sure children can sit comfortably and reach the supplies intended for independent use without climbing, stretching, or opening adult-only storage.
Step 2: Decide which supplies stay accessible
The easiest art station to clean is not the one with the most containers. It’s the one with fewer materials out at once. Set out small amounts of supplies for regular use rather than giving children access to the entire stash.
For example, the everyday station might include crayons, washable markers, plain paper, age-appropriate scissors, glue sticks, and stickers. Paint, glitter, specialty paper, modeling materials, and more complicated craft kits can stay in a separate refill bin that an adult brings out when needed.
This approach reduces spills, clutter, and the classic “I needed every color” pileup. The CPSC’s art and craft safety guidance also advises giving children small amounts of materials, keeping surplus supplies away from children, and supervising art activities as needed.
Step 3: Create clear homes for each category
Group supplies by how they’re used, not by how cute the containers look together. Markers and crayons can share one bin if that makes sense for your child. Paper can go in a vertical file, shallow drawer, or basket. Glue, scissors, tape, and stickers can live in another container.
Keep categories broad enough that cleanup remains easy. A bin labeled “Drawing Supplies” is often more practical than separate compartments for every pencil color. If the return spot requires careful sorting, it may work beautifully for about two days.
Use labels that match your child’s reading level. Younger children may respond best to a picture paired with a word: a crayon image for drawing tools, a sheet of paper for paper, and so on. Older children can help write the labels, which makes the system feel more like theirs and less like a mysterious household rule invented by adults.
Step 4: Set up a protected work zone
Give the art station a boundary. A tray, placemat, washable table covering, or large sheet of paper helps define where active work happens and catches small drips, paper scraps, and runaway beads.
For paint or glue activities, bring out only the materials needed for that session. A small tray can hold a limited number of paint colors, brushes, and a water cup while keeping the rest of the table clear. It also makes it easier to lift the whole setup out of the way if someone needs the table for another purpose.
Keep food and drinks away from the art area. This is a practical habit for both cleanup and safety, particularly when supplies could be mistaken for something edible. Save snacks for a separate spot, even if the artwork is emotionally demanding.
Step 5: Add a simple “in progress” and “finished” area
Artwork tends to spread because children need somewhere to put it before it’s truly done. Create one designated spot for works in progress, such as a folder, tray, shallow bin, or clipboard. This prevents unfinished drawings from migrating across counters, floors, and occasionally into laundry piles.
Then add a separate place for finished art. Depending on your space, this could be a drying rack, clip line, folder, or labeled box. For wet paint, choose a stable area where pieces can dry without being stacked together.
This small distinction matters because it answers a question that causes a surprising amount of clutter: “Where does this go now?” When the answer is visible, cleanup stops feeling like an interruption to creativity.
Step 6: Keep adult-only items separate and secured
Store cleaning products, surplus supplies, sharp tools, and materials that require close supervision out of children’s reach. Keep cleaners in their original containers with the labels intact rather than transferring them into decorative bottles or food containers.
For most art-table messes, ordinary cleaning is enough. Wipe or wash visibly dirty surfaces with soap and water or a cleaner suitable for that material, following the product label and the furniture manufacturer’s care instructions. The CDC notes that cleaning should happen before sanitizing or disinfecting. Routine disinfecting is not automatically necessary after every use.
If you choose to use a disinfectant for a specific reason, an adult should apply it according to the label. The EPA advises that children should not apply disinfectants and that cleaning products should not be mixed unless the label specifically directs it.
Step 7: Teach a short reset routine
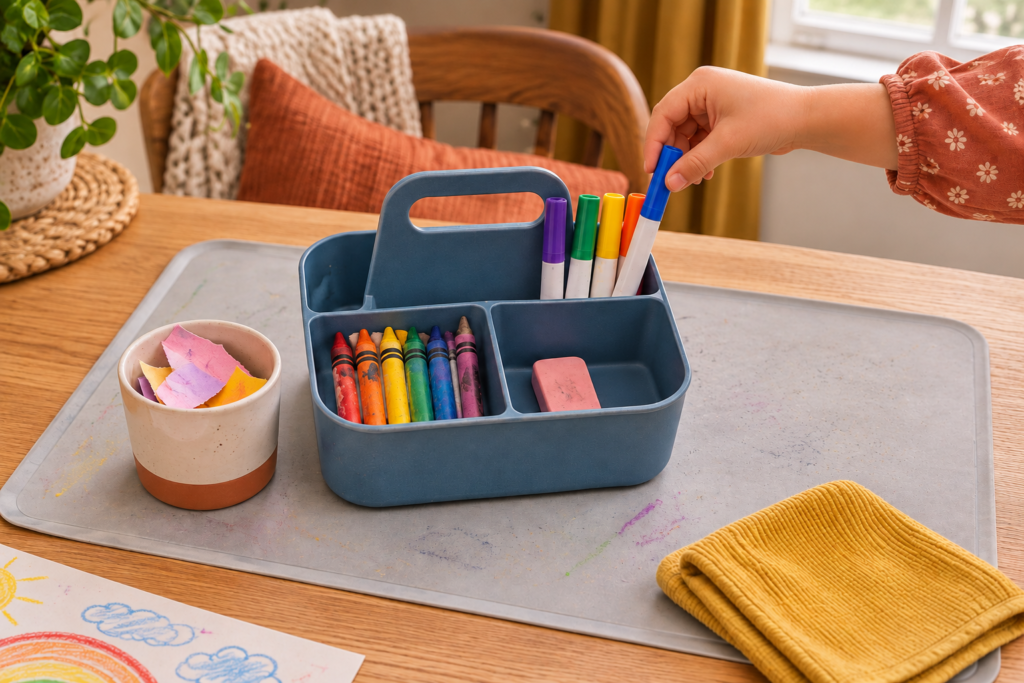
Build cleanup into the end of art time, but keep it brief and specific. A useful routine might be: put tools in the caddy, place artwork in the finished-art area, throw scraps away, and wipe the table.
For everyday paint and glue messes, wipe the table with a damp cloth and use mild soap if the surface allows it. Keep a clean cloth nearby so kids can help with the final wipe. Store cleaning products out of reach for an adult to use when needed.
Helpful Tips
- Rotate supplies instead of displaying everything at once. A few different materials each week can keep the station interesting without creating overflow.
- Use open bins for frequently used items so children can see where things belong.
- Keep a small trash or recycling container nearby for paper scraps, sticker backings, and broken crayon wrappers.
- Choose a refill day rather than constantly restocking. Check the station once a week or whenever a main bin runs low.
- Save artwork that feels meaningful or has a purpose. A designated folder or display space makes decisions easier without turning every drawing into a permanent archive.
- Put messier activities on a tray so you can contain and move them without clearing the entire room.
Common Mistakes to Avoid
- Putting every supply within reach. More access can mean more creative freedom, but it can also mean more spills, waste, and overwhelm. Keep everyday supplies limited and store extras separately.
- Buying storage before sorting supplies. Containers cannot solve a pile of dried markers, half-used kits, and unidentified craft bits. Edit first, then choose storage that fits what remains.
- Making categories too complicated. Tiny compartments may look organized, but they can make cleanup harder for children. Use broad, obvious groups.
- Using tall storage without addressing safety. Heavy materials belong on lower shelves, and freestanding furniture should be secured according to the manufacturer’s instructions.
- Expecting children to clean without showing them how. A quick demonstration and a repeatable routine go further than vague reminders.
- Treating disinfecting as the standard response to paint and glue. Routine wiping or washing is generally the practical starting point for a dirty art surface. Use cleaning products only as directed for the situation and surface.
Final Thoughts
A good kids’ art station should make it easier to say yes to creativity, not make you brace for the aftermath. Start small, keep everyday supplies limited, and give each item a simple return spot.
The system can change as your child grows, your space shifts, or the current obsession moves from crayons to collage. That flexibility is a feature, not a failure.
Frequently Asked Questions
How do I make an art station in a small space?
Use a portable caddy or shallow bin with a protected tabletop surface. Store the caddy in a cabinet, closet, or lower shelf when art time is over, and bring it out only when needed.
What supplies should be available every day?
Keep everyday supplies simple: paper, crayons or markers, age-appropriate scissors, glue sticks, and a few stickers. Save paint, specialty materials, and larger craft kits for supervised use.
How often should I clean a kids’ art station?
Wipe or wash the work surface after messy use and clear scraps after each art session. A quick weekly check for dried-out supplies, overflowing paper, and missing caps helps keep the station usable.
Should children be responsible for cleaning up?
Children can help with age-appropriate tasks, such as putting crayons in a bin, tossing scraps, and carrying finished art to its spot. The setup should make those tasks easy enough to repeat, not turn cleanup into a complicated sorting job.